How to set up your own DIY photo shoot at home
This month, I’m allowing my clients and anyone on my mailing list to come to my studio for a “take your own photo” day. I have a backdrop hanging, a few balloons and a light that will help make your photos super sharp and pretty. (sign up for that is here - https://calendly.com/katenaglephoto/new-meeting)
Will the photos look as good as the ones I take as a professional? Maybe… they can at least come really close! I’ll be there to remind you to hold your phone flat and bend down to your kid’s level, but even without that, you’re going to get some cute photos.
Here are a few things I would tell you if you were to ask me how to set up a shoot at home…
1. Choose a Distraction-Free Background
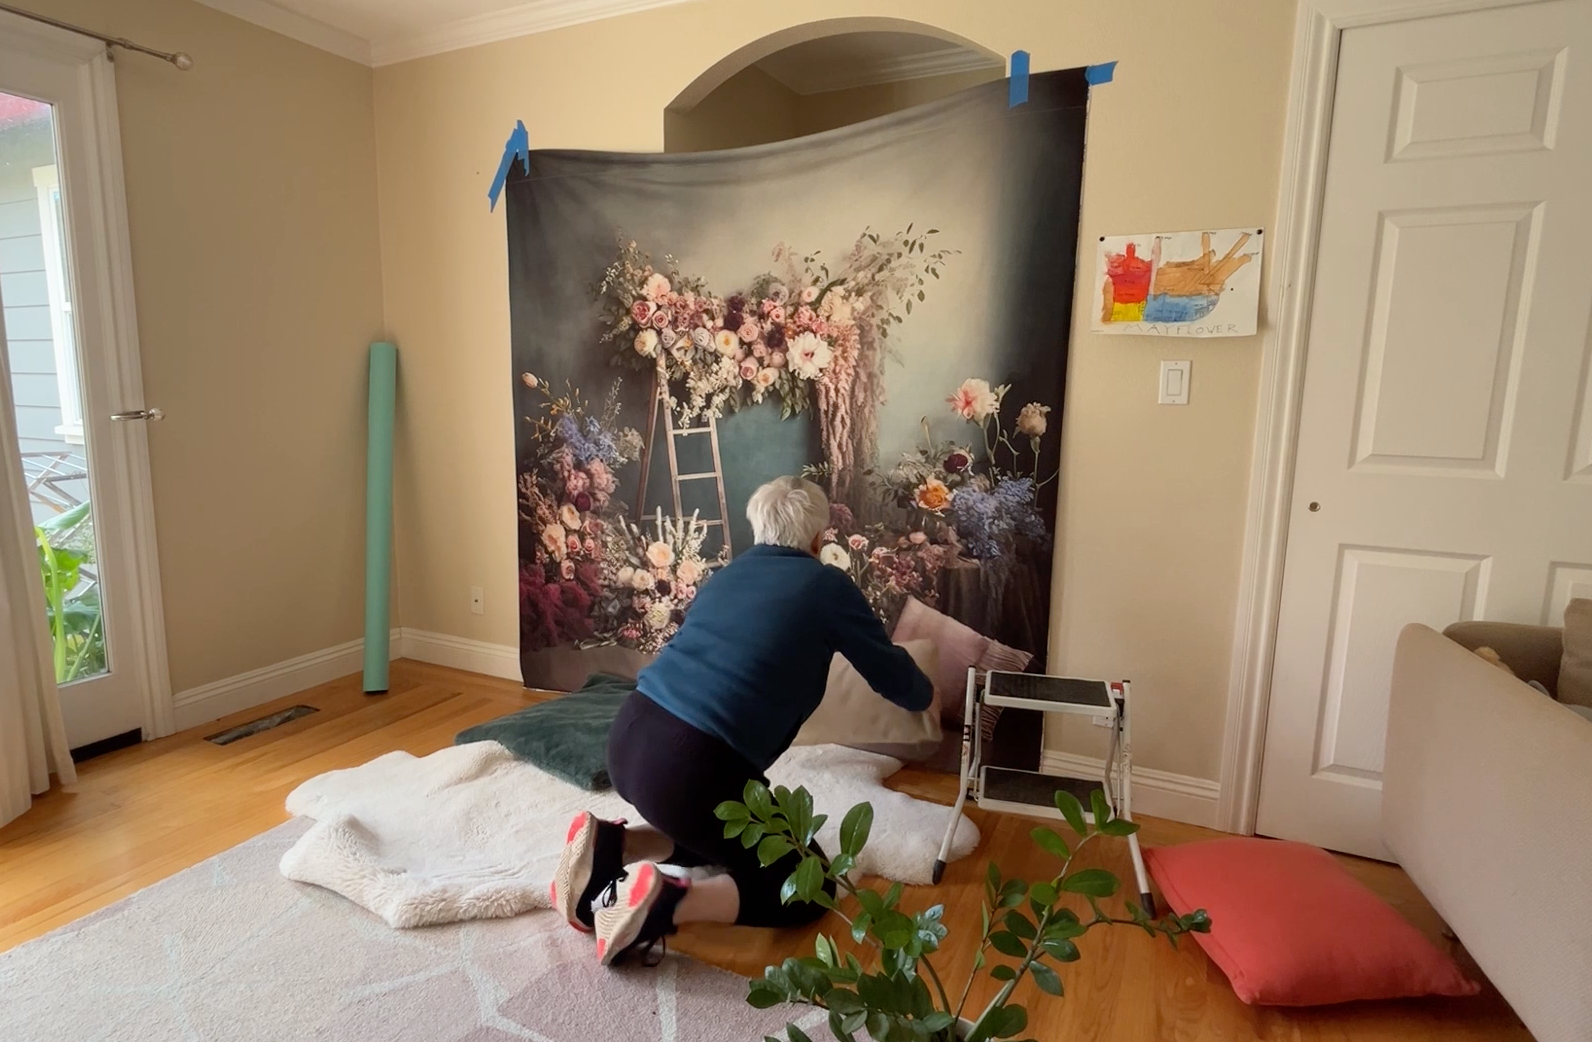
Plain walls, a stretchy backdrop, or a roll of paper work great. You can find the paper here on amazon (you don’t need the stands - just tape it to the wall)
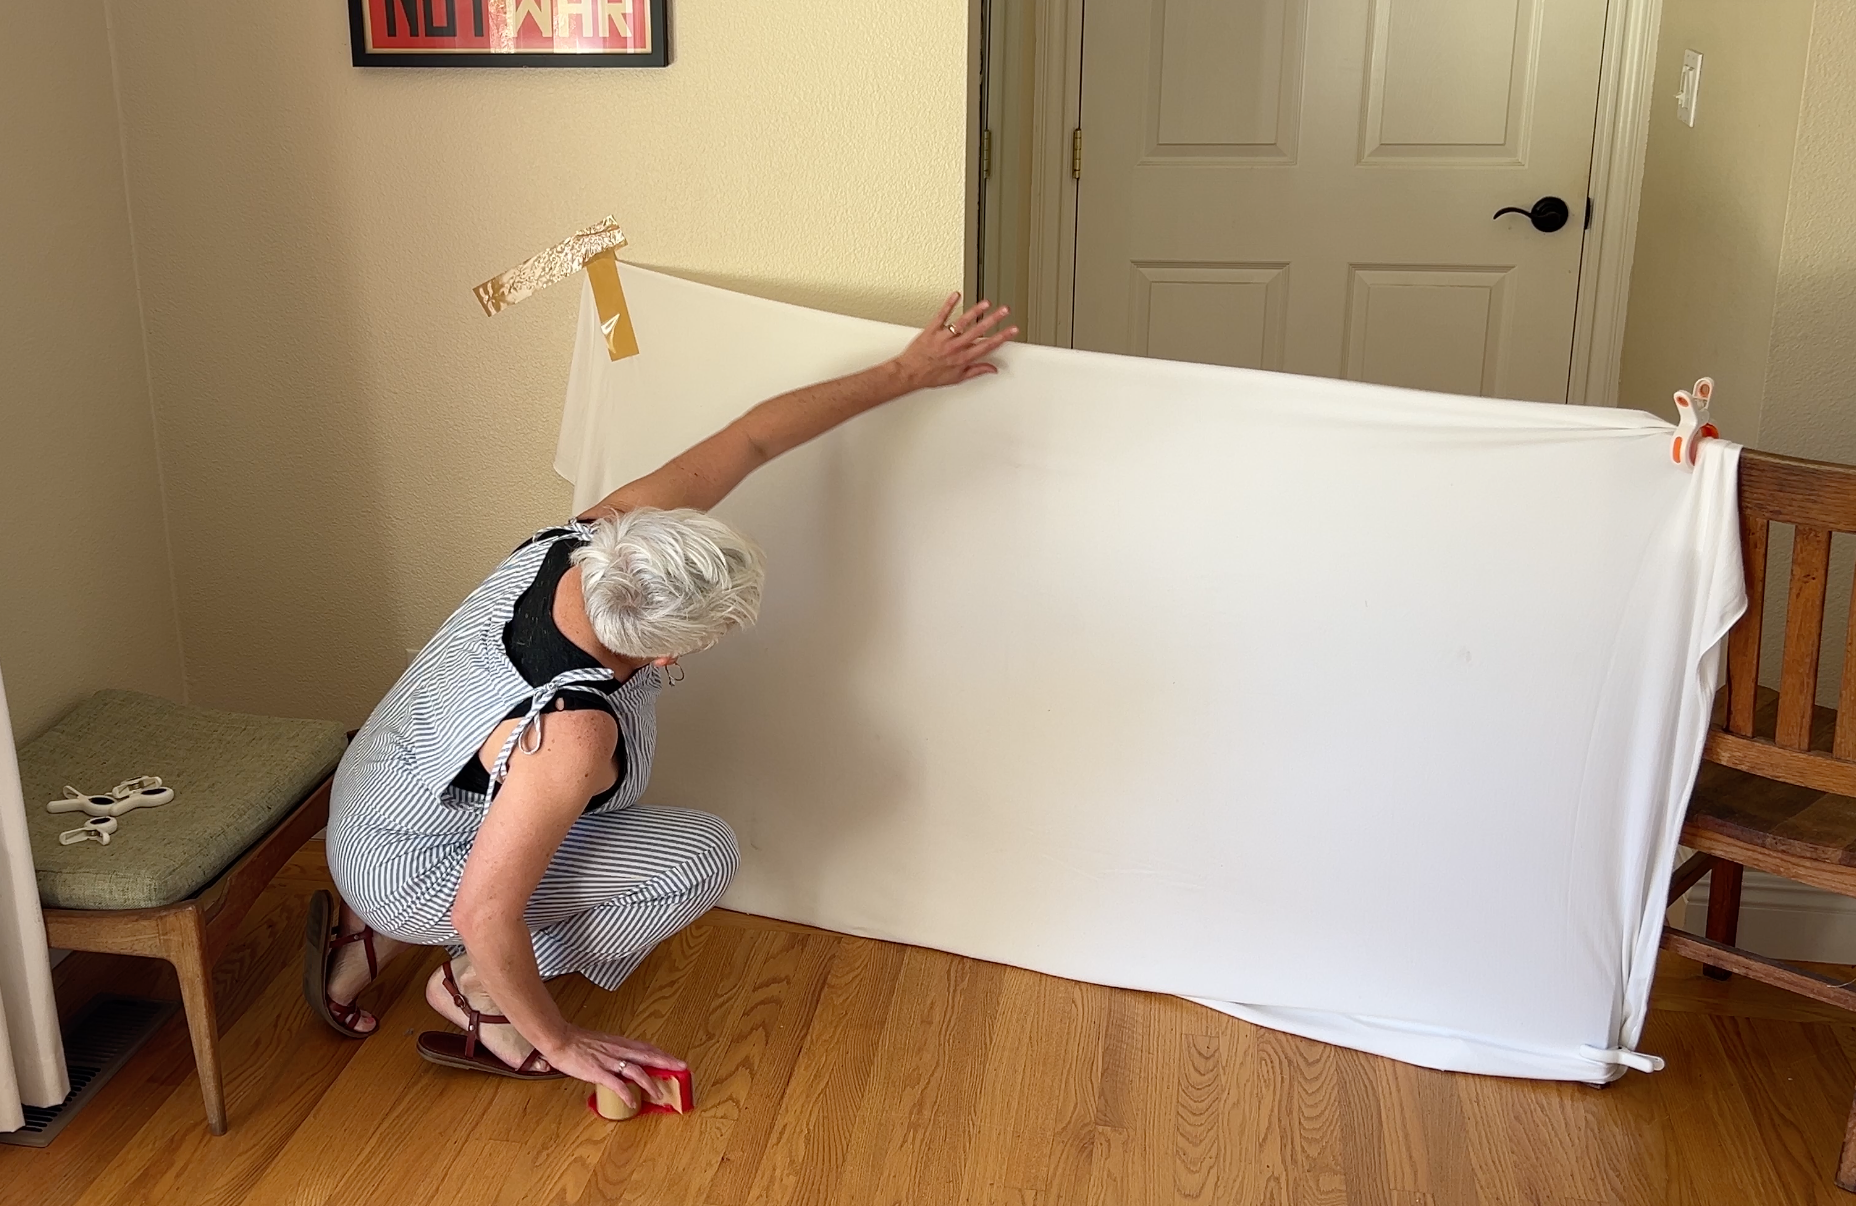
If you’re hanging a fabric backdrop, make sure it’s pulled tight and wrinkle-free so nothing distracts from your subject.
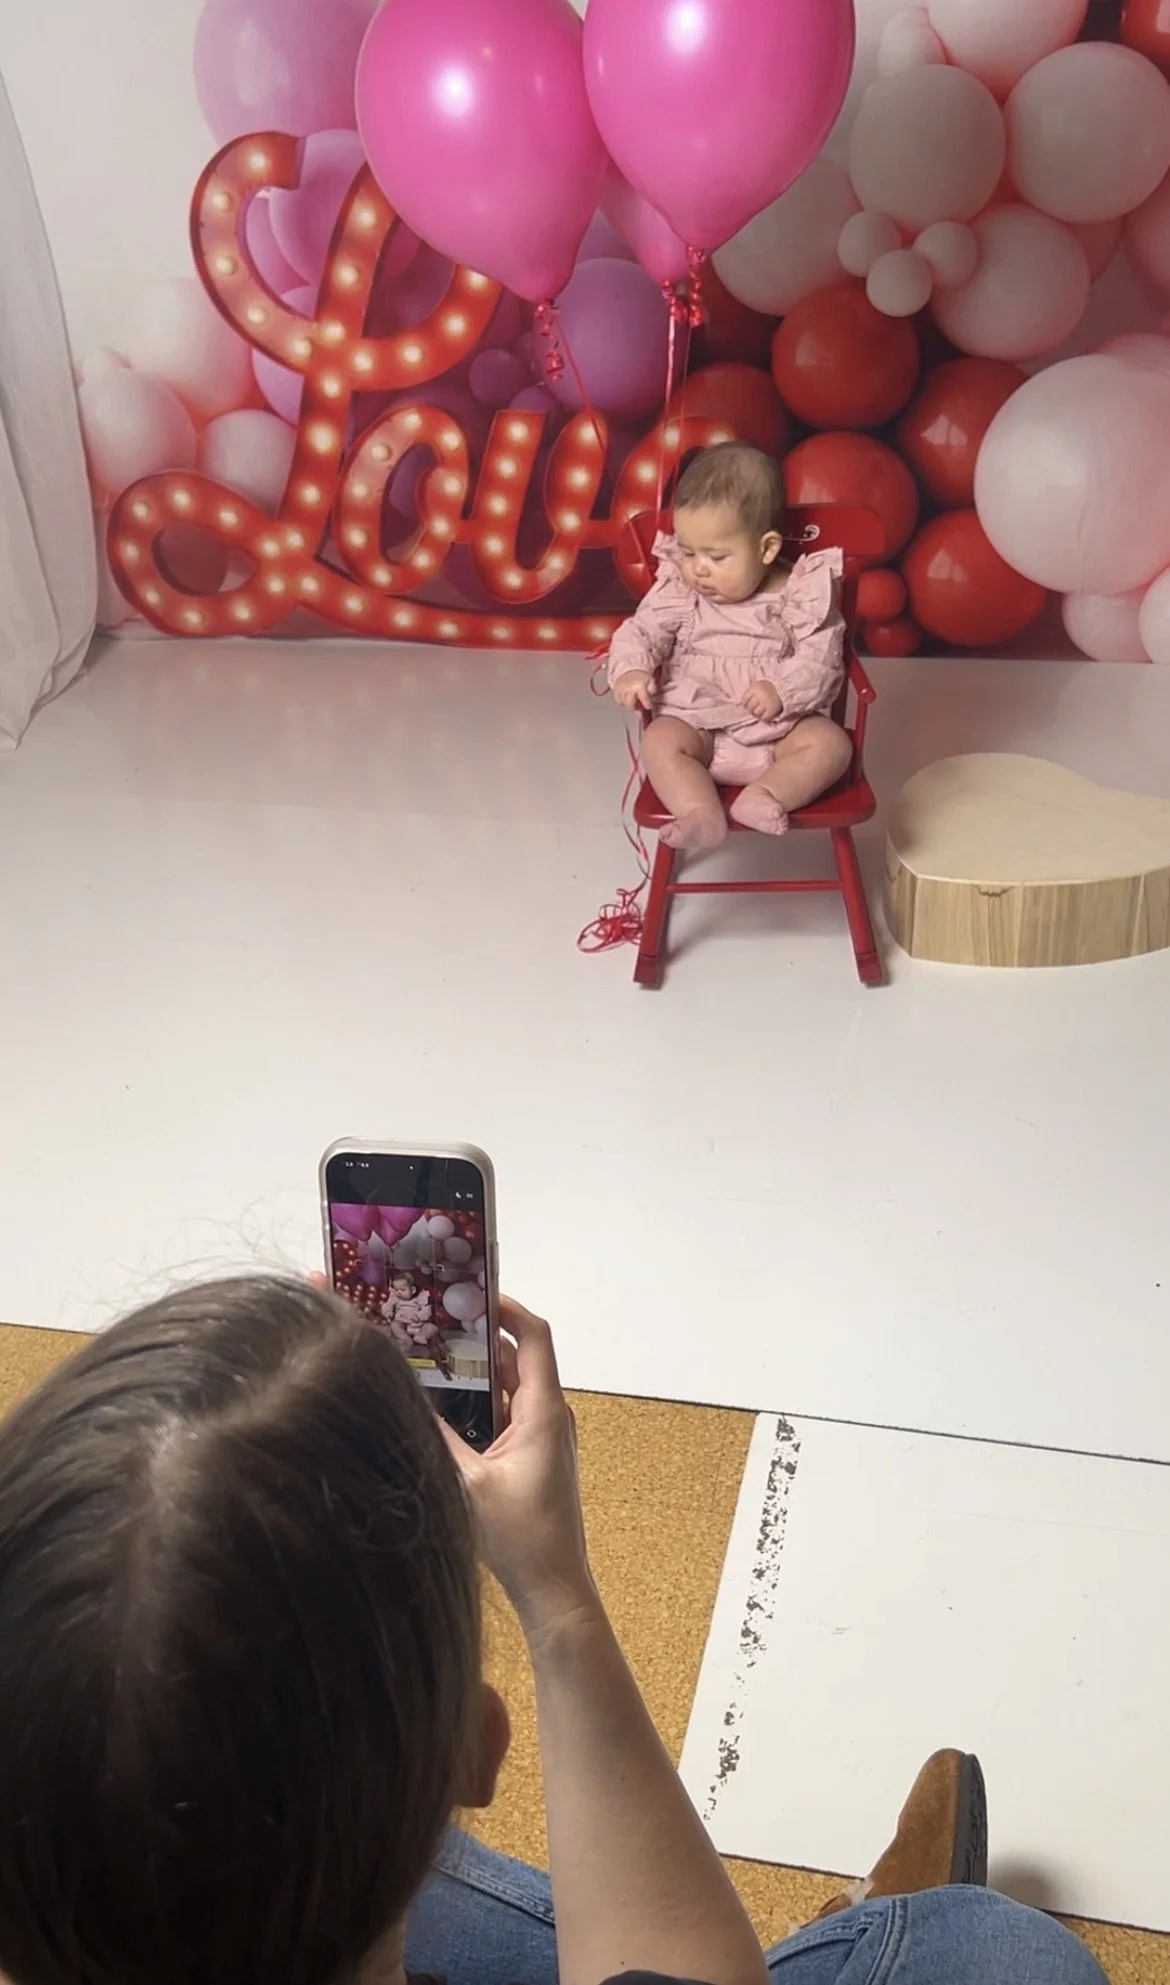
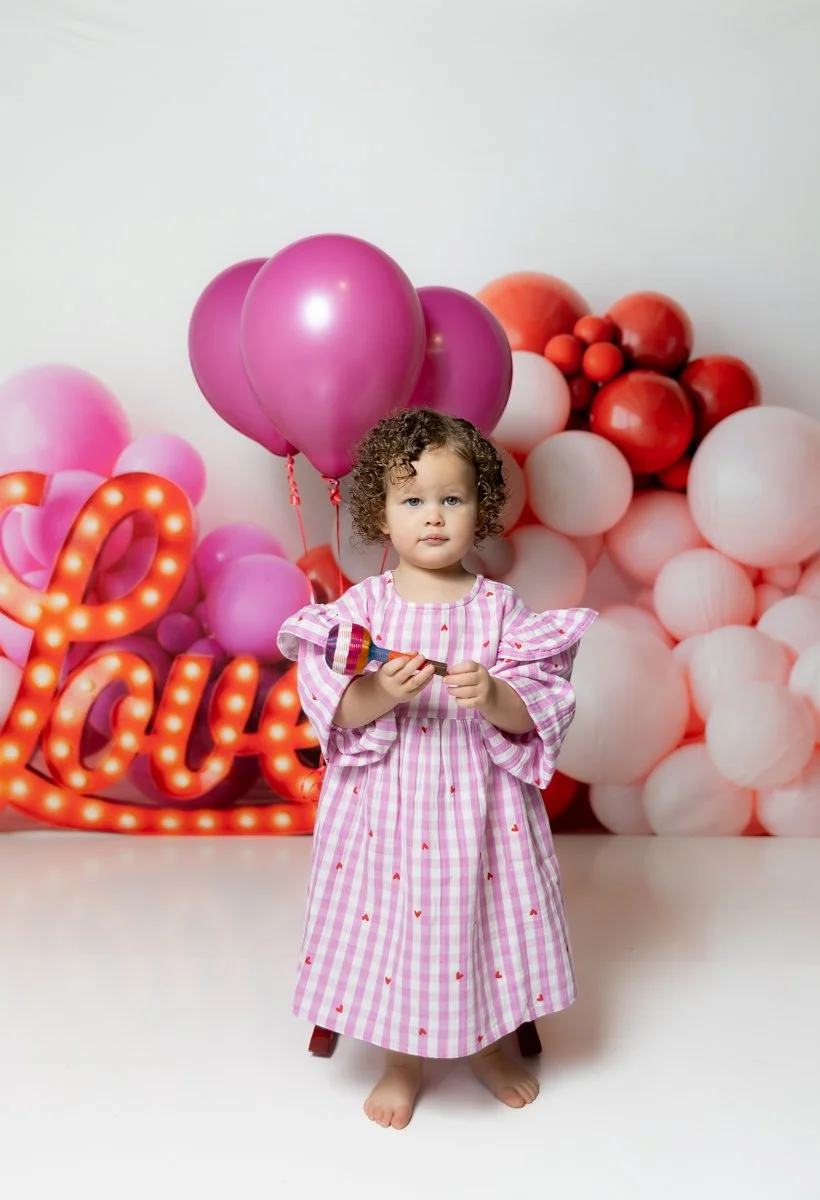
Add pillows, balloons or other props the base of your backdrop so that the seam isn’t distracting and breaks up the line across.
2. Use Great Light- Natural or Artificial
Position your subject so the light comes in at about a 45° angle — this gives soft, flattering light that sculpts faces and creates depth.
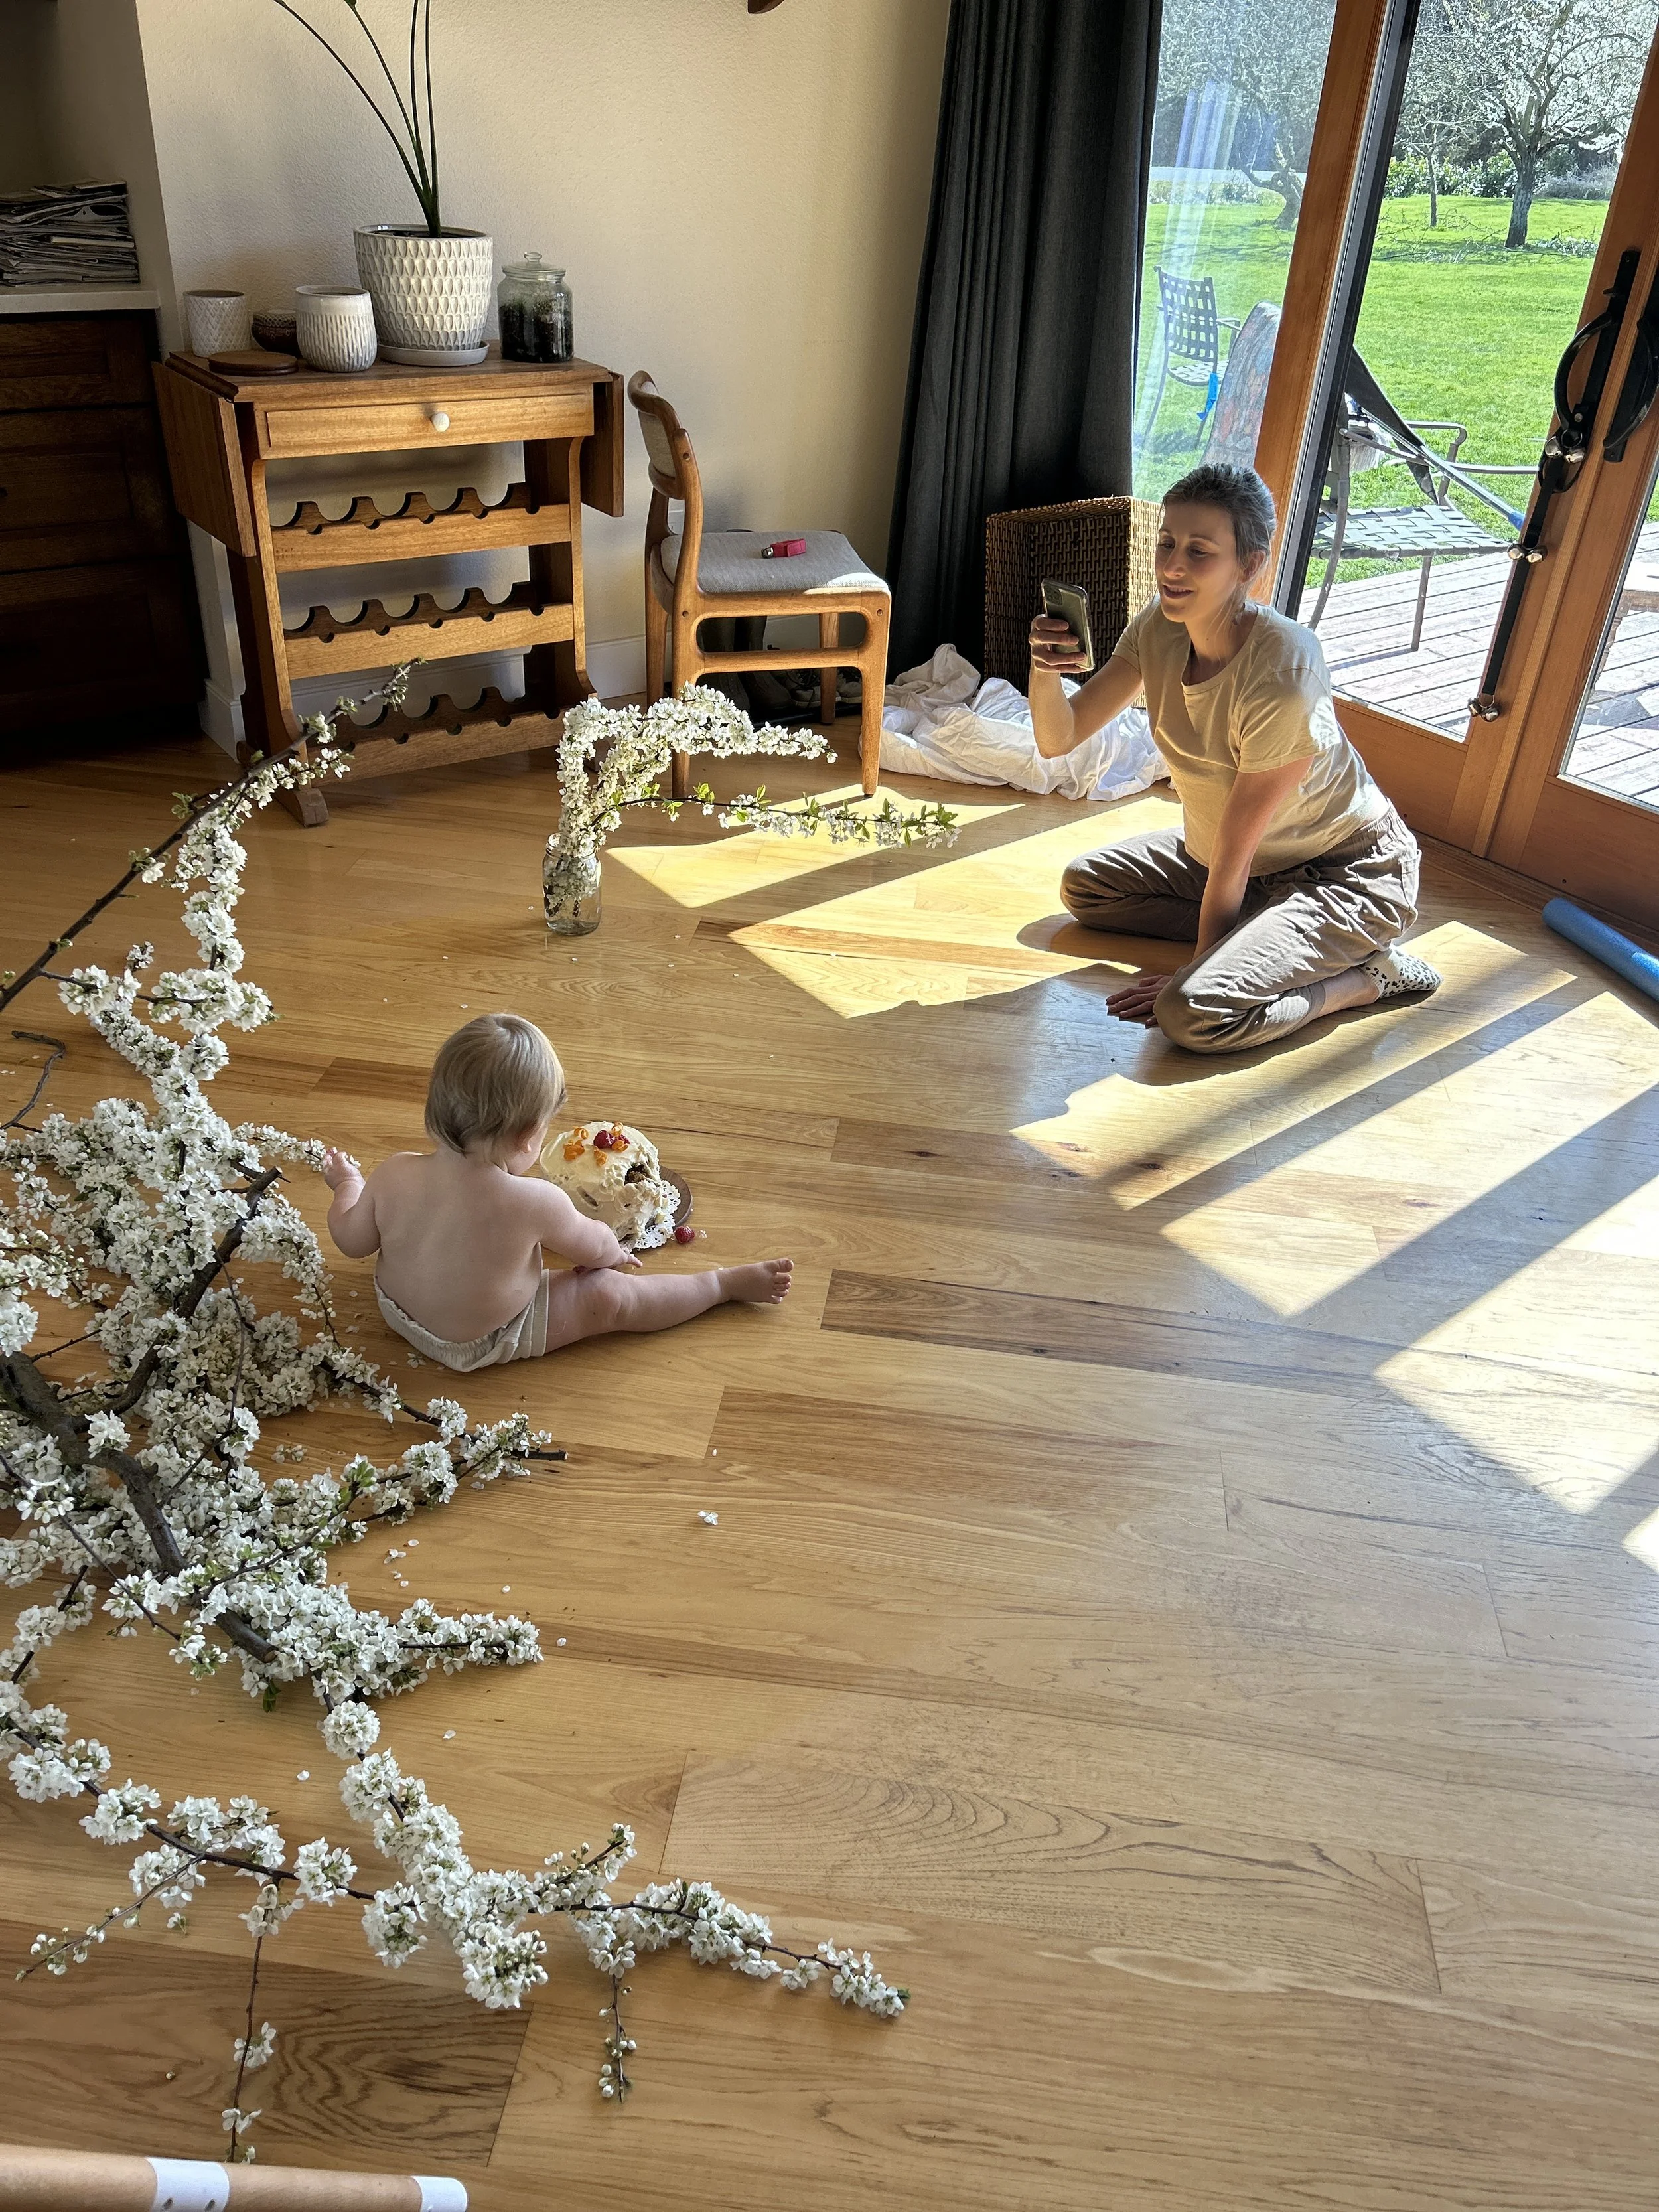
Floor-to-ceiling windows are ideal for natural light - that way if you light the whole thing.
If you don’t have strong natural light or it’s not consistent, a simple video light can help fill in shadows, brighten your scene and keep your images sharp. Here is a link - Neewer light. You can use this light with your phone camera easily (and you can use it for your next TikTok dance reel too!)